

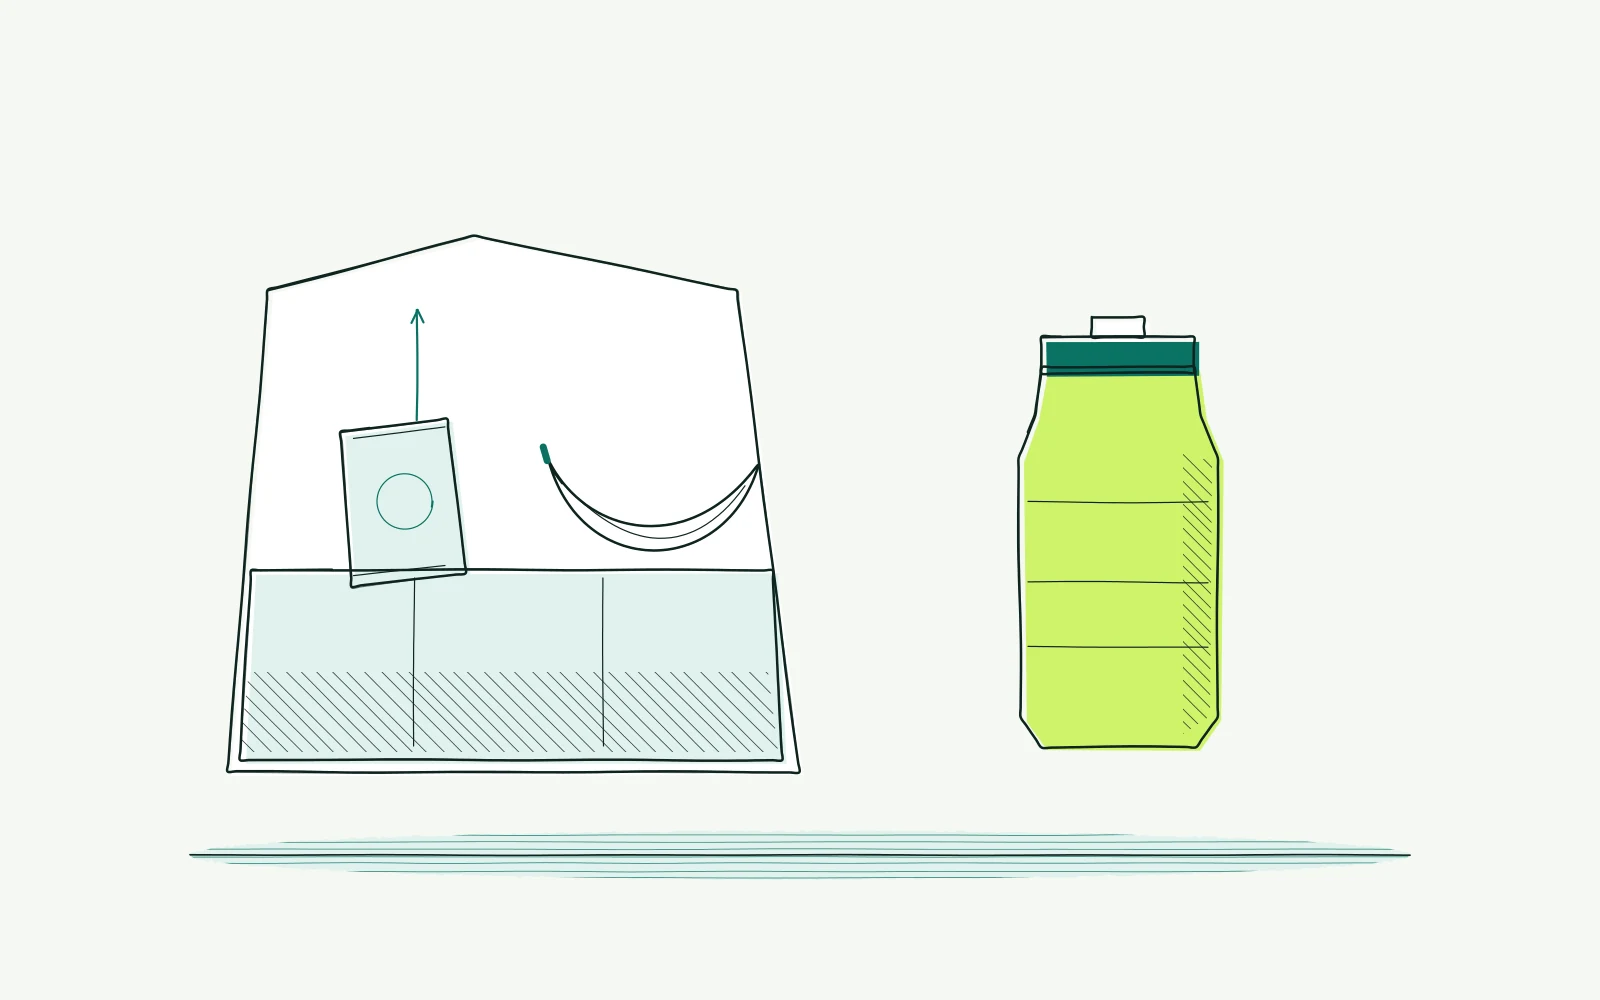
The problem: cycling fueling basics
Before leaving you hurriedly put something in a pocket. An hour later it remains there because the pace is high or the packaging is awkward. At the first stop you eat a lot at once. Another day you have a schedule but not the products required to follow it.
This guide mainly concerns execution. How do you carry food, when can you reach it safely and what should you record afterwards? The hourly calculation is useful, but not the whole story. A plan must match the route, your handling skills and your experience with the chosen products.
Consider what already works well too. Perhaps an ordinary snack feels comfortable during easy rides. That is useful information, not a reason to replace everything immediately with sports products. Start with something repeatable and define which part of the plan you want to improve on your next outing.
Background
Preparation involves several choices: duration, expected effort, available stops and carrying capacity. These connect without needing to become a complicated formula. Write them down beforehand. This avoids discovering halfway through a ride that bottles are empty and the next shop is closed, or that food cannot be reached easily.
The calculator uses duration categories from the approved carbohydrate guidance in Jeukendrup 2014. Its result is a starting point rather than an assessment of your complete diet. The explanation for short and long rides accompanies the number. Consider it when preparing a different type of effort.
Food and fluid are not identical needs, even when one bottle provides both. Carbohydrate in drinks contributes to nutrition. Fluid quantity needs separate consideration alongside that. Wanting to carry more energy does not automatically justify mixing an arbitrarily stronger drink than the product instructions recommend for preparation and use.
The bicycle arrangement affects execution. An inaccessible rear pocket, difficult bottle or tense hand position makes eating less practical. Check access while safely stationary. You do not need to struggle with a packet while riding to demonstrate that you are taking nutrition seriously or following a worthwhile plan.
A successful ride provides information even when you do not consume everything. Record leftover food and why it remained unused. Was the ride shorter, did the product feel uncomfortable, or were safe opportunities lacking? Those answers help more than concluding afterwards that you lacked discipline because supplies remained in your pocket.
How to approach it
-
Choose a familiar route and estimate actual duration. Record places to stop, refill water or eat safely. Use the nutrition tool to examine a starting point.
Read its limitations. Do not assume identical supplies suit a short easy outing and a much longer ride with limited facilities or opportunities to obtain more food.
-
Lay out your chosen products before leaving. Check the label for carbohydrate in each actual serving. Count drinks when they contain carbohydrate too.
Record your total and planned hours. Prefer an understandable combination over several unfamiliar products whose tolerance you have never tested during a ride or similar training session.
-
Make food accessible. Distribute packets among pockets you can identify easily and secure them properly. Check while stationary that bottles leave their cages comfortably.
Keep sharp or dangling packaging away from moving parts. If reaching requires a large twist, choose another location or plan a short stop rather than struggling while riding.
-
Choose a simple rhythm suited to clear sections of the route. A reminder may help, but must not force an unsafe eating moment. Pause when braking, traffic or terrain requires attention. Keep both hands available whenever necessary; safety takes priority over completing the plan at an exact time shown on a device.
-
Test two or three easy rides using the same base plan. Then change one product, quantity or carrying arrangement. Record stomach comfort, ease of eating and leftovers.
Return to the previous approach if the new one feels worse. Avoid simultaneously changing your whole bike position or training load, because that mixes several possible explanations.
-
Discuss persistent nutrition difficulties with a sports dietitian or clinician. Stop for serious illness, confusion or persistent vomiting. Pain at rest, night pain, swelling or radiating tingling needs medical assessment. Have posture symptoms reviewed after three or four careful adjustments; do not continue a fitting trial simply because you still have food left to consume.
Further reading
Carbs per hour cycling: make your plan helps interpret labels and add food and drink together for your planned outing.
Sodium cycling drink: read the concentration explains what sodium information you can obtain from a product label.
Cycling watts per kilogram: understand the number puts effort beside the figures used to describe your training.
The fuel and hydration calculator provides a starting point to combine with your own experience and safe route planning, rather than replacing either.
Frequently asked questions
Do I need gels for every ride?
No. Choice depends on duration, practical opportunities and tolerance. A gel is a packaging format, not a compulsory part of cycling.
First consider guidance for the ride and products you already enjoy using. Practise new choices during an easy training session rather than an important event.
What if a planned eating moment is unsafe?
Delay it until a clear section or stop briefly. A reminder on a cycling computer is not an instruction to open packaging in traffic or on difficult terrain. Include that constraint in route planning, so safe opportunities are part of preparation instead of something you hope to find.
Must I eat everything I carried?
No. Preparation does not oblige you to empty your supplies. The ride may unfold differently from expectations.
Record leftovers and the reason so you can plan better next time. Do not force intake when symptoms appear simply because a calculator displayed a particular amount before you left.
Is an indoor trainer useful for practising eating?
It can help assess access and tolerance under calm conditions. Keep drinks and packaging safely clear of moving parts. Indoor riding does not reproduce outdoor steering and traffic situations, however. Later check how the same plan works on an uncomplicated outdoor route before relying on it during a demanding ride.
This guide covers one part of your riding position. Read how bike fitting connects your measurements and bike setup.
Calculate a starting point and turn it into a workable plan for your ride.
Plan fuel and hydration