

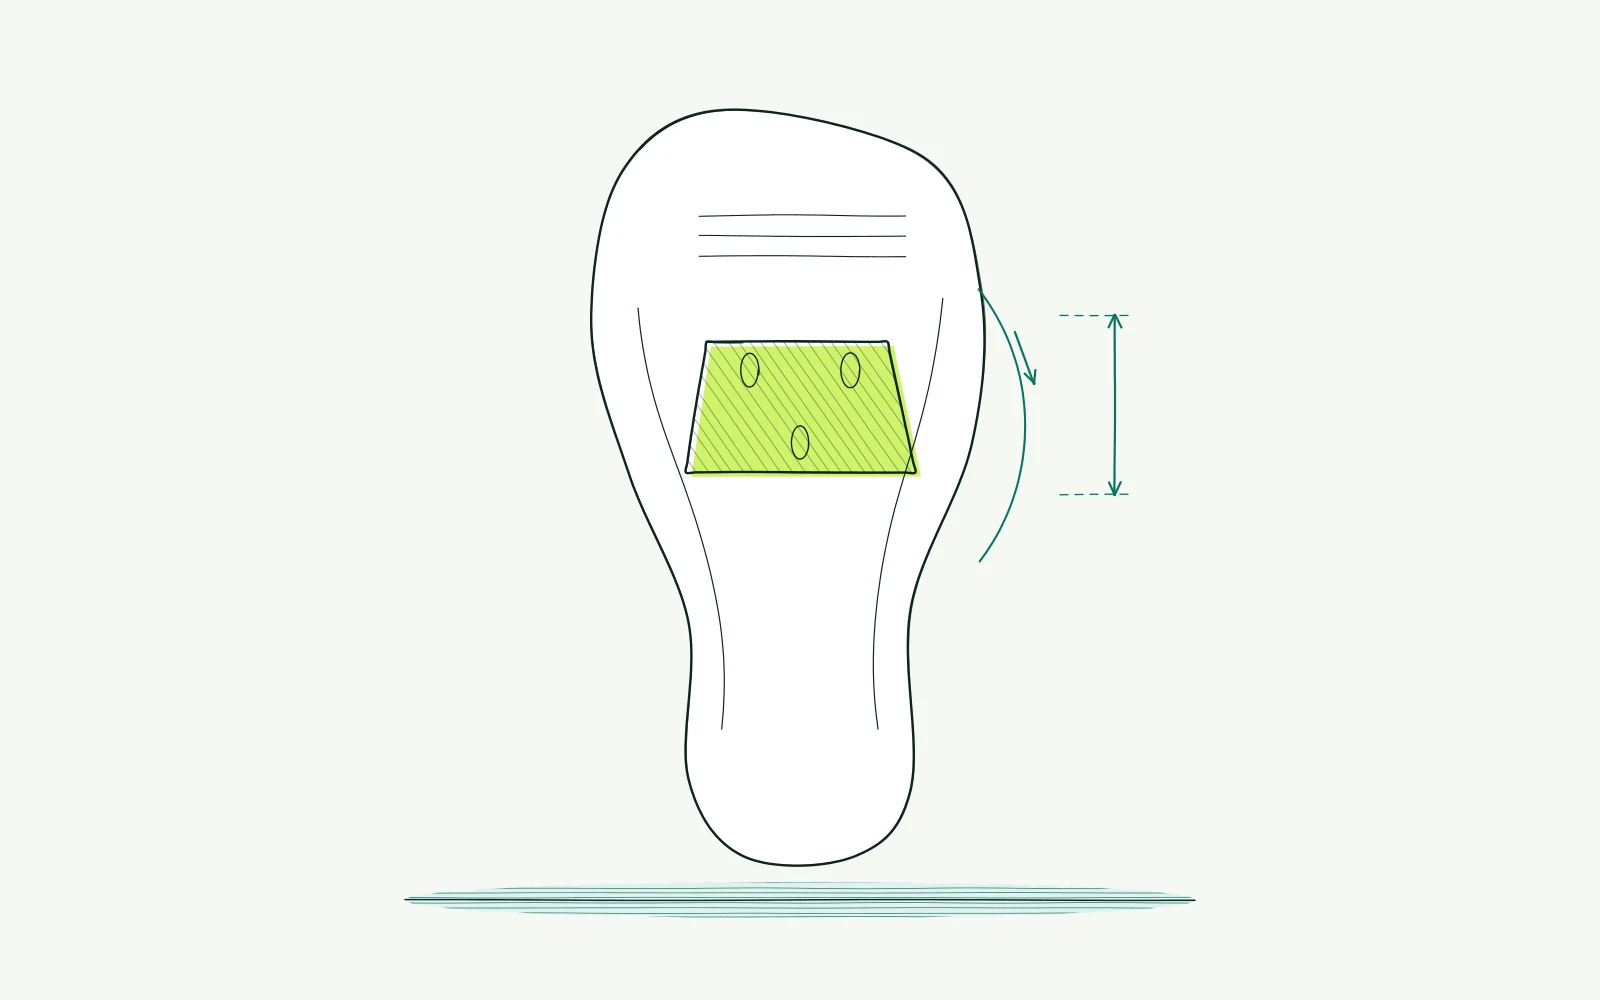
The problem: finding your cleat position
You clip in and notice that your foot does not feel comfortable on the pedal. Perhaps your heel wants to move outward. Or you feel pressure under the forefoot when pedalling firmly. New shoes can make the same bicycle feel different, even when the cleats match the old markings.
That makes adjustment confusing. One friend recommends straight feet, while another pushes every cleat fully backward. Meanwhile, you cannot tell whether the shoe pinches, the cleat needs attention or your ride was harder than usual.
Start by noting when the difference appears. Does it happen immediately after clipping in, only uphill or later in the ride? Is it on the left, right or both sides? Record whether you can release safely as well.
A fit is not a competition for visual symmetry. You need a repeatable position to assess, without consciously forcing your feet into an uncomfortable direction.
Background: position, rotation and movement allowance
A cleat connects the shoe to the pedal. Moving it forward or backward changes where that connection sits beneath the foot. Moving it sideways changes where the shoe sits relative to the pedal. Rotating it changes the direction in which the shoe engages.
These are separate choices that need separate records.
The available rotational movement while riding is often called float. This differs from rotating the cleat beneath the shoe. Release force is another setting again. Extra movement or lower spring tension does not automatically explain a painful foot.
Shimano's SPD-SL installation instructions emphasise checking engagement and release and using the specified tightening torque. Always follow the instructions for your exact system. A value or component for another pedal is not a safe substitute.
Also consider the shoe's fit. If your foot moves inside it, the relationship between foot and cleat can change as you pedal. Tightening the closure may add discomfort without fixing the original fit. New shoes therefore need a fresh assessment rather than simply copied markings.
An online assessment can help organise the starting information. It cannot see how much movement your foot seeks under load. A photograph of your knees cannot determine the ideal cleat angle either. When uncertain, a fitter can inspect movement and equipment together.
A clinician can assess symptoms that also occur away from cycling.
How to approach it with bike fitting
-
Start with equipment and symptoms.
Check the model names of your shoes, pedals and cleats. Find the relevant manual. Look for loose bolts, damage and wear.
Do not test a cleat that shifts or releases unpredictably. Ask a mechanic to restore correct installation if you cannot assess its safety.
-
Record the original position.
Take a photograph directly beneath each sole. Mark the outline with a removable pen that will not damage the material. Record positions against markings in millimetres.
Include shoe size, insole and socks. This lets you return to the starting setup without relying on memory.
-
Choose one specific question.
Are you investigating foot direction, space beside the crank or position under the forefoot? Do not change rotation and fore-aft position together.
Record displacement in millimetres, or an angle in degrees when your measuring tool can reliably show it. No universal adjustment increment fits every system and symptom.
-
Respect installation limits.
Make only a change permitted by the manual. Use suitable tools and the tightening torque for your combination.
Let a fitter help choose the first direction when there is no clear reason for a change. An arbitrary correction based on knee pain can introduce a second problem.
-
Check away from traffic first.
Practise clipping in and releasing with secure support. Test each foot separately and check clearance beside the crank. Ride only when this works reliably.
Then compare two to three easy rides per change, provided no symptoms develop. Keep the route, shoes and other settings as similar as possible.
-
Assess and return when needed.
Record comfort, release and any new symptoms. Stop if things worsen and restore the marked position with correct installation.
The bike fit calculator helps review your overall position, but does not calculate a personal cleat angle.
Warning signs: stop for numbness, weakness or spreading tingling. Discuss swelling and pain at rest or at night with a clinician. If pain remains after three to four careful adjustments, seek a fitter and medical advice where appropriate. Do not wait through all the test rides when warning signs appear.
Further reading
-
Cycling shoe width: finding the right last helps distinguish an unsuitable shoe shape from an uncomfortable connection to the pedal.
-
Cycling shoe insoles: support without pressure explains why space above and below the foot must be considered together.
-
Pedal stance width explains which components influence the distance between your feet.
-
Knee pain when cycling: what can you check? helps describe a symptom without immediately assigning a single cause.
-
Use the bike fit calculator for your general position, not to diagnose foot symptoms.
Frequently asked questions
Must my left and right cleats match exactly?
Not necessarily. Different feet or shoes may need individual assessment. Record both positions before changing anything. A difference is not proof that correction is required either.
Have unexplained differences assessed when you do not know what you can safely test.
Can I copy the markings from my old shoes?
Treat them as documentation at most. Markings on different soles are not a shared measurement system. Your foot may sit differently inside the shoe too. Check fit, installation and release again before assessing the new combination during a normal ride.
Is more rotational freedom always more comfortable?
More room is not automatically better. The pedal system, cleat position and your movement work together. Do not change float to ignore pain. Discuss recurring symptoms with a fitter and select only settings or components approved by the manufacturer for your system.
What if releasing becomes harder after adjustment?
Stop the test. Check installation against the manual and restore the safe starting position if necessary. Practise with support before riding again. Ask a mechanic for help when the cause remains unclear; releasing in traffic is not an appropriate experiment.
This guide covers one part of your riding position. Read how bike fitting connects your measurements and bike setup.
Record your overall cycling position, then assess cleats as a separate contact point.
Start your free bike fit